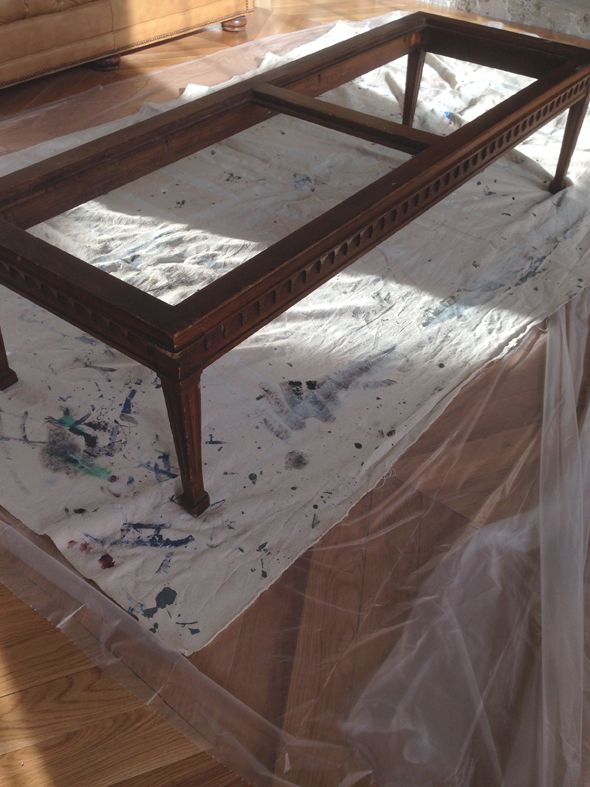
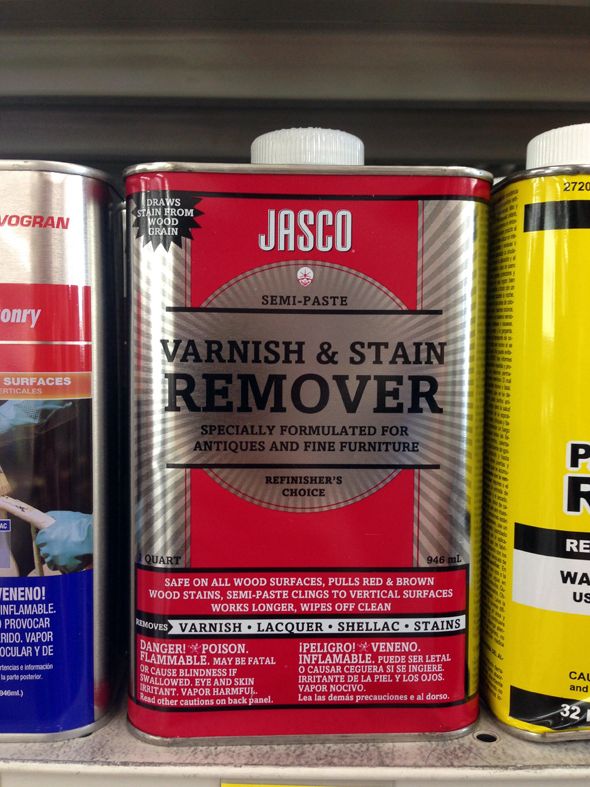
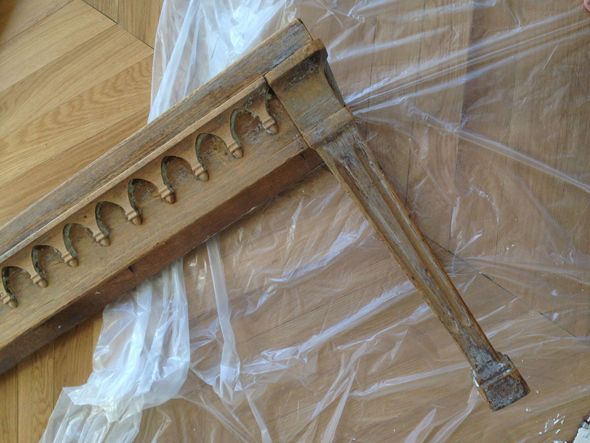
I found this coffee table at the Meeker Ave Flea Market in Brooklyn. It was stamped Dorothy Draper and I got it for only $10 because it was missing a top. Total score! The color of the stain was not my favorite so we stripped it using varnish remover first and a little bit of stripper.
This product worked pretty well to loosen up the stain and gel stripper helped to take the rest off.
The magic maker was using this Wood Bleach next. It does exactly what it sounds like it would do. It comes in a powder that you make a solution with water and use it to sort of clean the wood. The color lightens pretty quickly.
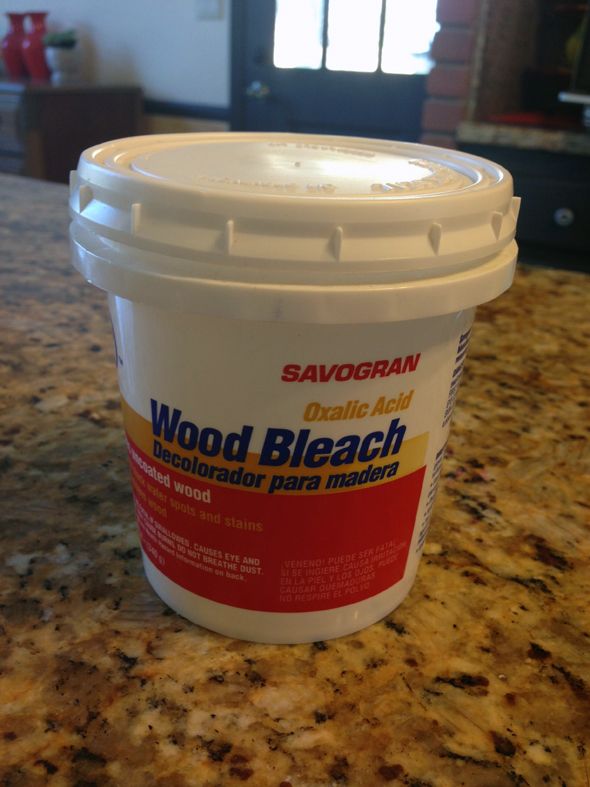
You'll definitely want to wear gloves for this part of the show. And working in a well-ventilated place is a good idea.
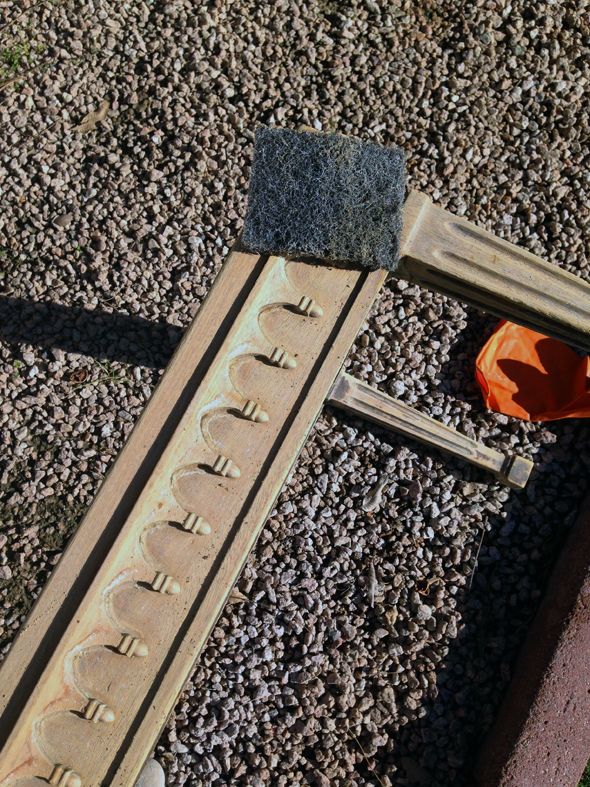
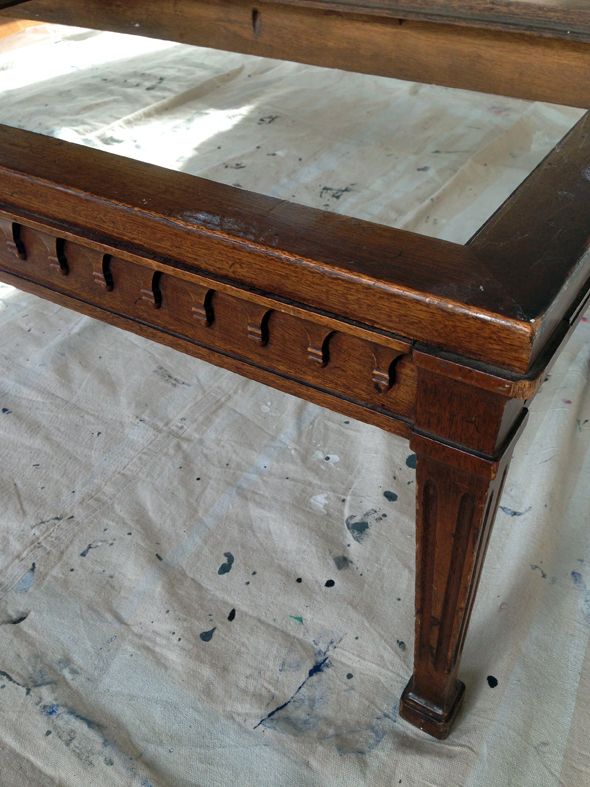
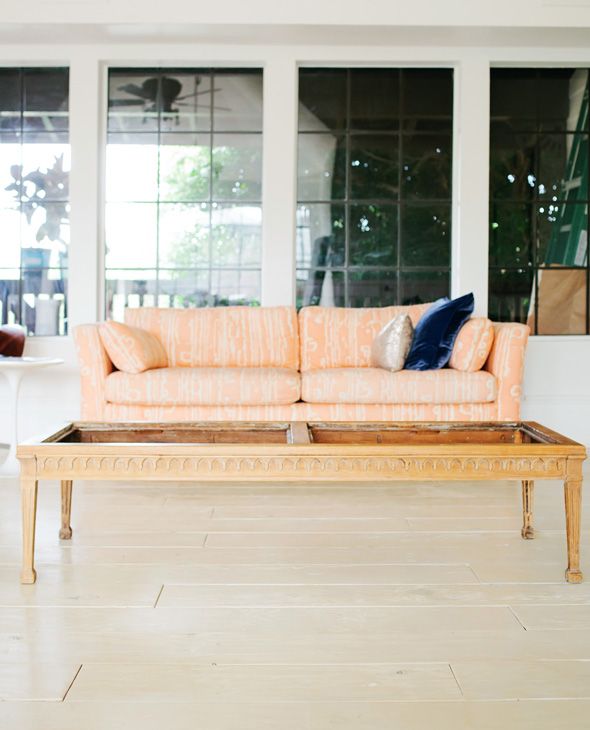
After the wood dried out, we waxed the finish and I LOVE the new color. It's still a little splotchy and dark in some places, but I like it.
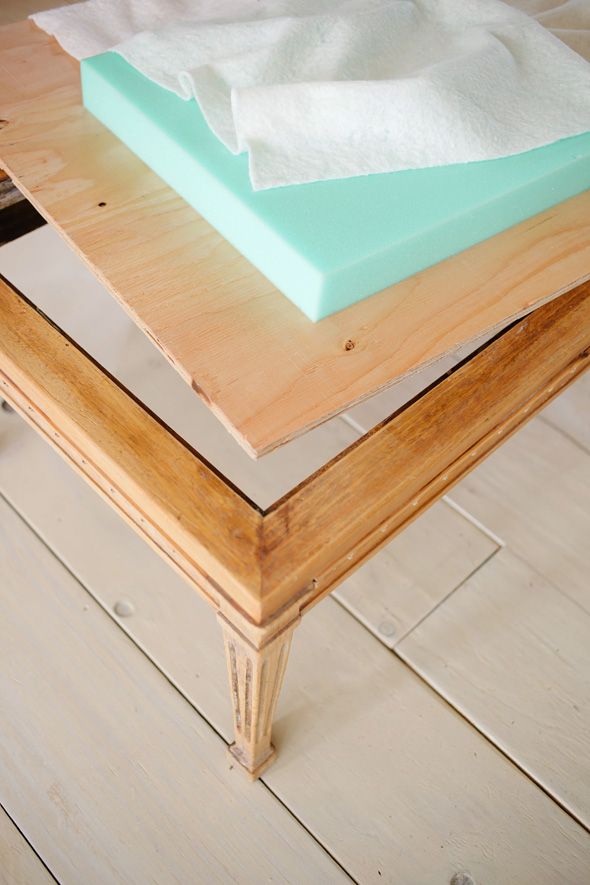
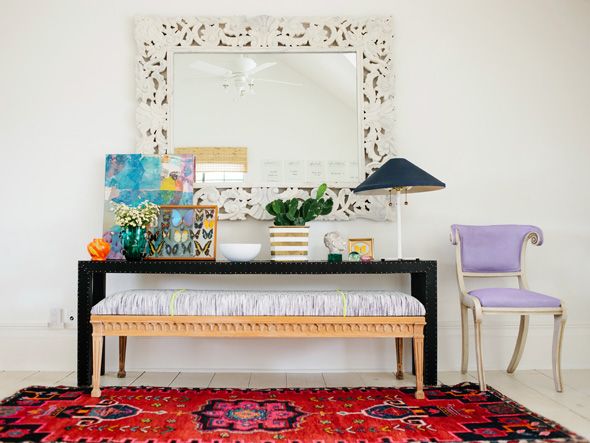
I had some plywood cut to fit the top of the coffee table exactly at Home Depot and bought some high-density foam at Joann's with a coupon, along with some batting cut a few inches bigger than the plywood.
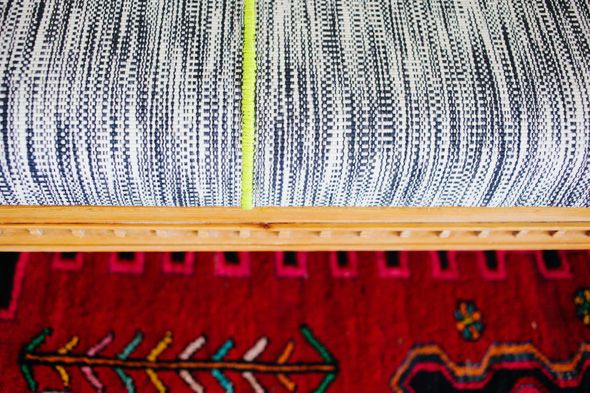
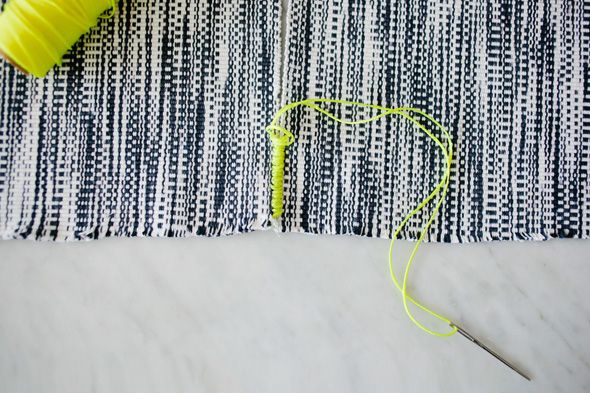
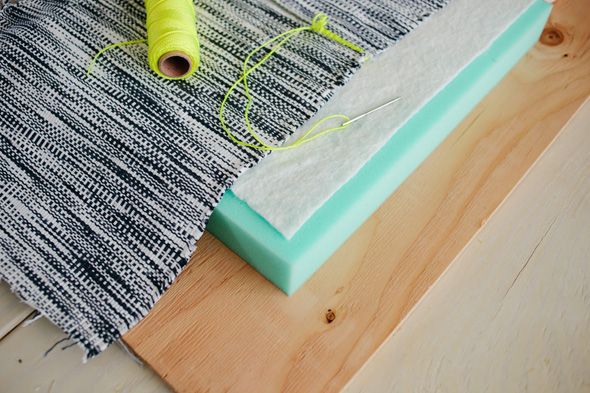
For the second try on the IKEA rug-binding, I did a tight whip stitch instead of the X's, which I think is a cleaner look. I used a large darning needle and some neon nylon thread from the hardware store.
Once the rug (which I had cut into three pieces and stitched in two rows) was finished, I lined everything up and layered the plywood, foam and batting under the rug and pulled everything back as tightly as I could while I stapled.
I stapled down the batting while I went too.

When everything was stapled down, I screwed the base to the upholstered top so there would be as small of a gap between the two as possible.
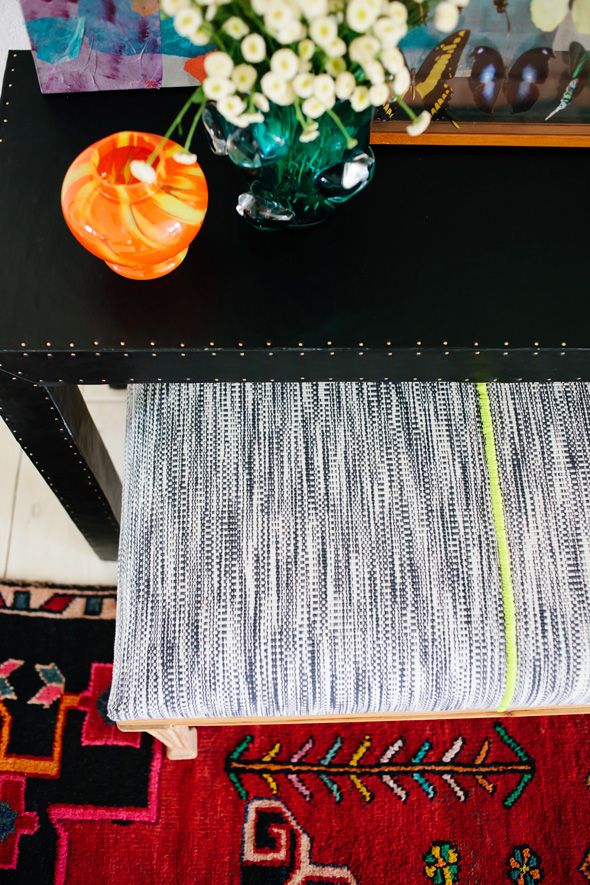
I love how the bench turned out! It was a cheap project and I love how I can use the bench in pretty much any space in the house. I layered it in front of a credenza for the spread and I've used it in our bedroom too. We have been keeping it in the studio lately and I love the little pop of color from the thread. It fits perfectly under this DIY console table that I'll share later this week. :)
A BIG thanks to Michelle Herrick for the pretty photos in this post!