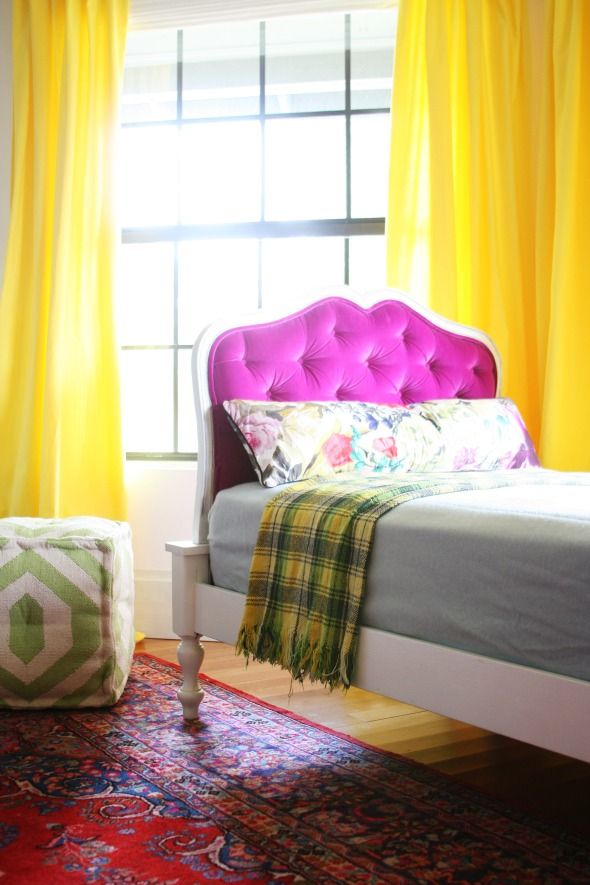
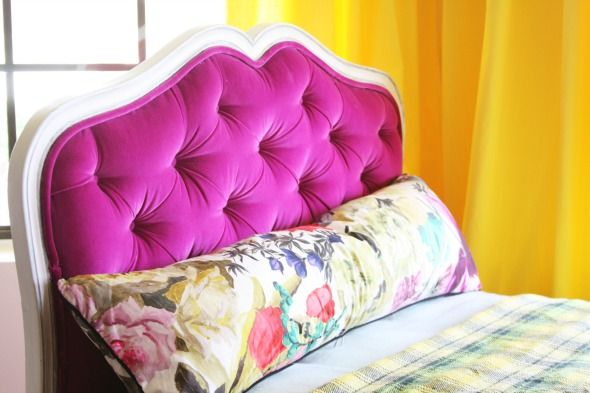
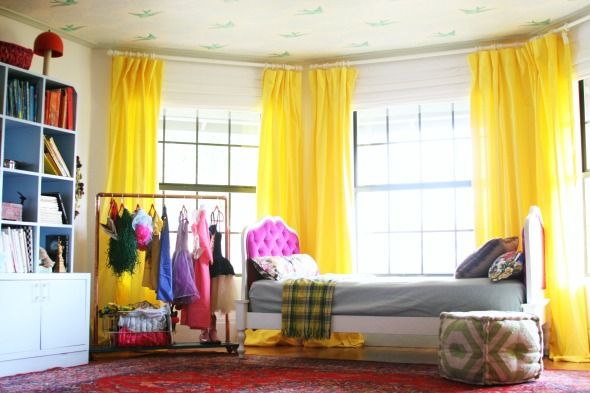
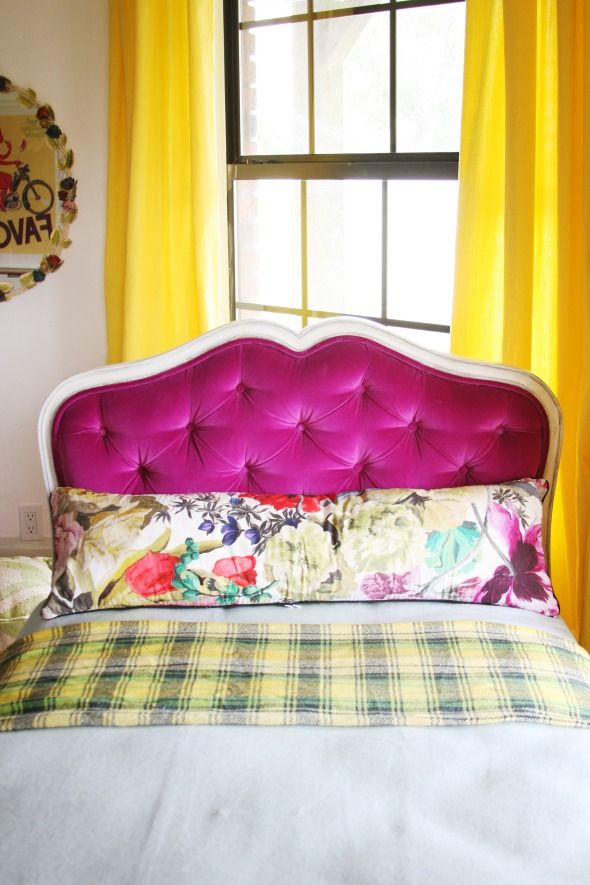
Remember this cute little magenta velvet headboard I made for the girls' room when we lived in the loft? I finally got around to tufting the matching twin headboard before the Domino shoot so we could make the headboards the sides of a daybed for the playroom.
Like I've mentioned a million times before, we were in such a hurry to get everything done. In an attempt to make this project go a little faster (tufting isn't all that hard... but it can be time consuming), I realized that I could completely bypass the whole threading-a-button-through-the-headboard-holes thing by just carefully screwing a wide-headed screw down in through the hole I had made in the foam.
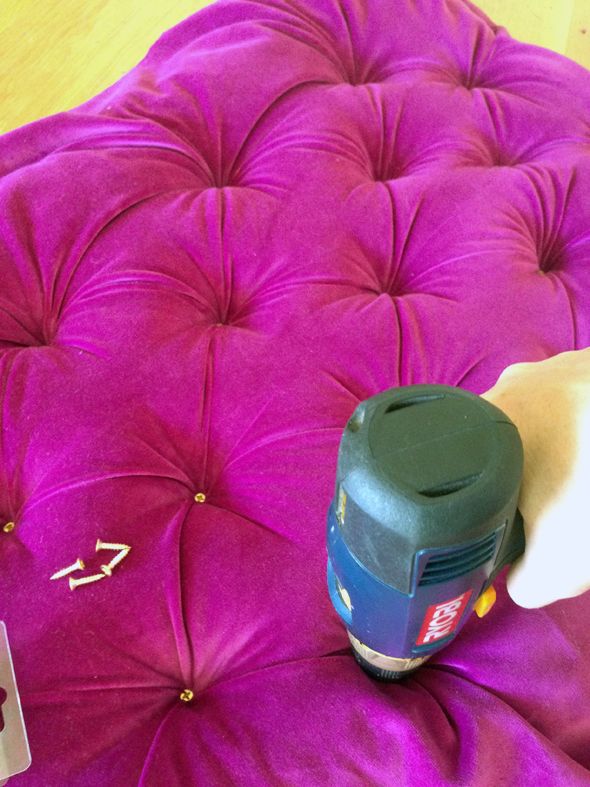
The only potentially tricky part is making sure you're putting the screw in the exact right place. I ended up screwing in pilot holes before hand, so I all had to do was find the pilot hole (blindly) with the point of my screw before using the drill to put in the screw.
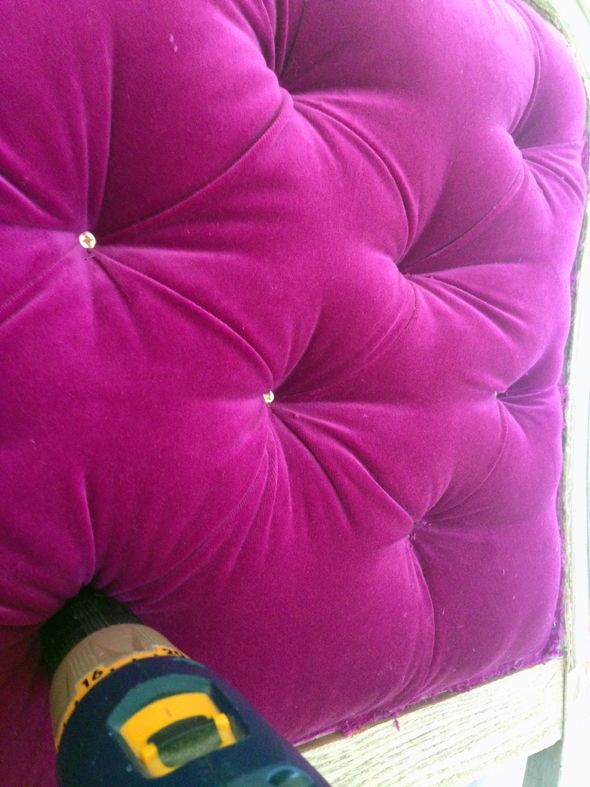
It's important to use screws that aren't too long (unless you wont see the back at all) and that have a wide enough head to hold back all the fabric from the tuft. I used a little bit of high-loft batting and linen in the same magenta color to back the headboard and cover any of the screw holes.

This little trick saved me literally hours of labor time! And it looks great! I just used fabritac to glue in the buttons into the tufts and I think now it would be hard for even me to tell which headboard was the one I spent more time on! :)
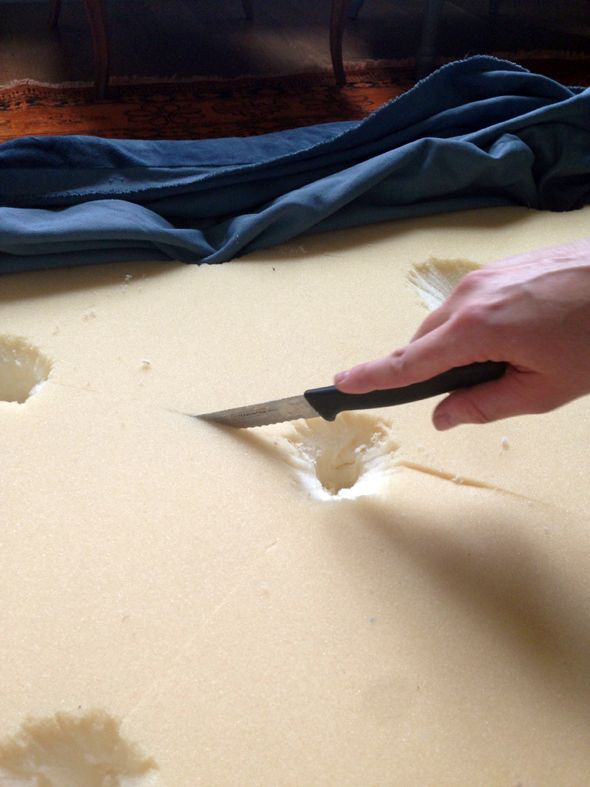
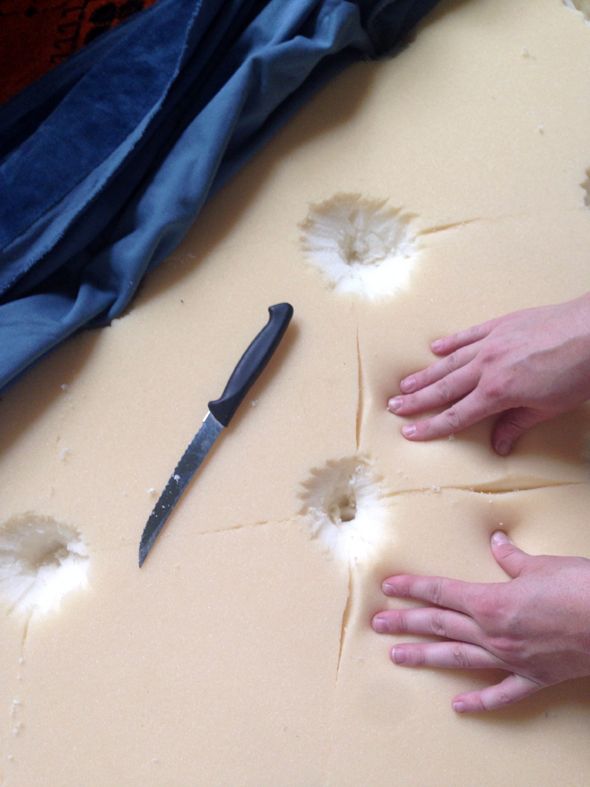
Oh! I also wanted to mention another little tufting trick I discovered a week or two ago. My sister, Ali, is about to have a sweet baby girl (yay!!) and she wanted to redo her bedroom before the baby came. We made a tufted headboard and the velvet we were using was a little thick and it was getting tricky to make the fabric not look too lumpy. I cut deep grooves into the foam and that made a little pocket for the fabric to sit into AND it made it super, super easy to get the diamond shape perfect and nearly wrinkle-free every single time.
Just a few little tips in case you're hoping to tackle a tufting project soon! :)